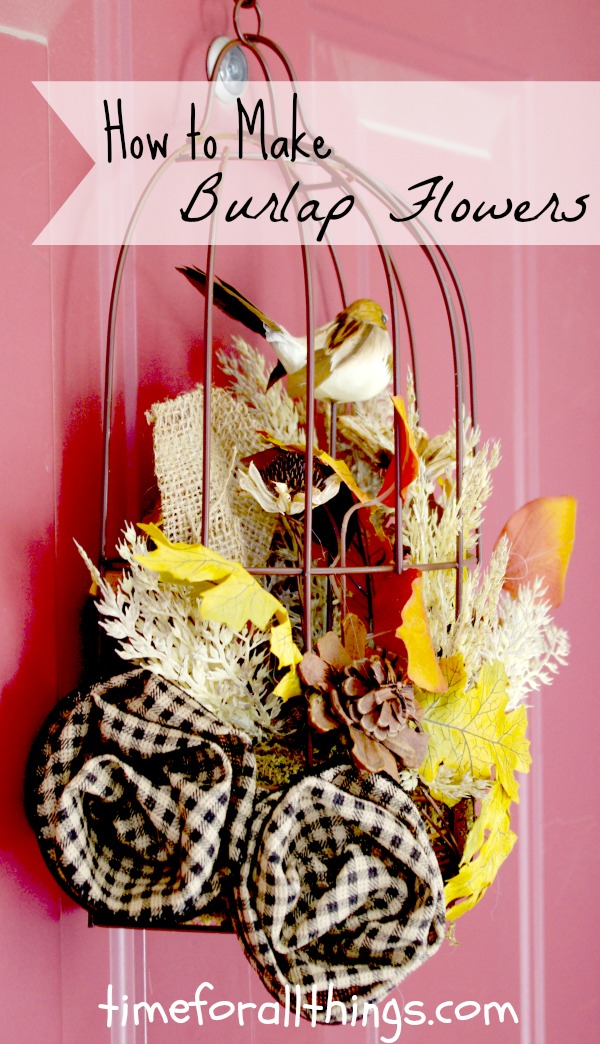
One of the hottest craft items this year is burlap ribbon. At my local craft store, I found a variety of burlap ribbons in various colors and patterns. I bought some black gingham burlap ribbon and used it to decorate a fake flower centerpiece that I recently made. Since I had left over ribbon, I wanted to use it to decorate a cute bird cage that I purchased from Pier 1 Imports.
How to Make Burlap Flowers
- Purchase Burlap ribbon that is wired and cut a piece approximately 24″ long.
- Fold down one end of the ribbon about 1/2″ and then fold again and crimp tightly. This will prevent the wire from coming loose.
- On the other end, choose one of the wires and start to pull. As you pull the wire, the ribbon will gather.
- Move the gathers toward the opposite end until the ribbon is completely gathered.
- Start to roll the ribbon in a circle tightly and you will see that a flower/rose will start to grow! You may need to pull the wire every so often to keep it tight. You can also fold down this end too to keep it from ungathering.
- As you roll the ribbon, turn the edges down to keep the flower looking nice.
- After you are happy with your creation, use hot glue or a needle and thread on the back of the flower to keep it together.
- Trim off the excess wire (I kept about 4″ on each of my roses and used the wire to attach the roses to the bird cage.)
I made this short video so you can see exactly how to make burlap flowers.
wow thanks for sharing I have tons of burlap I was looking to do something with
Love I have burlap ribbon that I buy every time a see a cute design. I need to use it asap.
Very pretty!!!
Those look great and so easy….yet, I’m sure I’d mess them up.